Cleaning a Poodle’s Ears After a Bath
The distinct drop ears and thick, fast-growing hair within a Poodle's ear canal make them especially prone to moisture retention, creating a perfect breeding ground for yeast and bacteria after a bath. Many Poodle owners find themselves battling chronic ear issues, often unknowingly exacerbated by post-bathing practices. This guide will walk you through a thorough, step-by-step process to properly clean and dry your Poodle's ears after every bath, helping you prevent painful infections and maintain their ear health.
Why Post-Bath Ear Care is Non-Negotiable for Poodles
If you own a Poodle, you know their magnificent coat demands constant attention, but often, the ears get overlooked until a problem arises. Unlike breeds with upright ears or sparse ear hair, Poodles have a double whammy: their heavy, pendulous ears trap moisture against the side of their head, and the dense hair growing deep within the ear canal acts like a sponge, holding onto water. This combination creates a warm, dark, and damp environment – absolutely ideal for opportunistic pathogens to thrive.
The Anatomy of a Poodle Ear and Its Challenges
A Poodle's ear isn't just a pretty flap of fur. Inside, the ear canal makes a sharp bend, creating a hidden pocket that's difficult to see and even harder to dry thoroughly. When water gets trapped in there, especially after a luxurious bath, it doesn't just evaporate easily. The thick hair in the canal wicks the water further in and keeps it there, leading to a prolonged period of dampness. This is why you might notice your Poodle shaking its head vigorously after a bath – they're trying to dislodge that uncomfortable wetness. Ignoring this can quickly lead to irritation, itchiness, and eventually, full-blown ear infections. You can read more about Why Drop Ears Trap Moisture in Poodles.
The Link Between Bathing and Ear Infections
Think about it: during a bath, water inevitably gets into the ears, no matter how careful you are. If this moisture isn't addressed promptly and effectively, it starts a countdown to potential problems. Yeast, which is normally present in small amounts on a dog's skin, flourishes in warm, moist conditions. A yeast infection can cause intense itching, a foul odor, and a brownish discharge. Bacterial infections can be even more severe, leading to redness, swelling, pain, and a yellowish discharge. Preventing these issues starts with a diligent post-bath routine. It's not enough to simply towel dry the outside of the ear; the internal canal needs attention too.
Essential Tools and Products for Poodle Ear Cleaning
Before you even think about getting your Poodle wet, gather all your ear cleaning supplies. Having everything within arm's reach makes the process smoother and less stressful for both of you. Trying to scramble for cotton balls while your dog is shaking its head is a recipe for a soggy mess and an unhappy Poodle.
Choosing the Right Ear Cleaner
Not all ear cleaners are created equal, and some are better suited for regular maintenance, especially after a bath. Look for solutions specifically designed for canine ears that are gentle, non-irritating, and help to dry the ear canal. Many good quality cleaners contain ingredients like witch hazel or boric acid, which have drying and antiseptic properties, or salicylic acid, which helps to exfoliate and remove debris. Avoid anything with alcohol, as it can be very drying and irritating, particularly if your Poodle already has sensitive ears. Brands like Virbac Epi-Otic, Zymox, or those recommended by your vet are excellent choices. You can find a good selection of these on platforms like Chewy or Amazon.
Necessary Supplies for a Thorough Cleaning
Beyond the cleaning solution, you'll need a few other items:
- Cotton Balls or Gauze Pads: These are essential for wiping away discharge and cleaner from the outer ear and visible parts of the canal. Avoid cotton swabs (Q-tips) as they can push debris further into the ear canal or even damage the eardrum.
- A Towel: Keep a dedicated "ear towel" handy to absorb any excess liquid and to keep your Poodle comfortable.
- Tweezers or Hemostats (optional, for plucking): If you pluck your Poodle's ear hair, this should be done before bathing, but it's part of comprehensive ear care. Plucking Hair From a Poodle's Ear Canal is a topic many Poodle owners tackle.
- Treats: Positive reinforcement is key! Make ear cleaning a positive experience with plenty of high-value treats.
Here’s a quick overview of common ear cleaning products and their uses:
| Product Type | Primary Function | Best For | Avoid If |
|---|---|---|---|
| Antiseptic Cleaners | Killing bacteria/yeast | Active mild infections, strong odors | Ears are very inflamed or painful |
| Drying Solutions | Removing moisture | Post-bath routine, humid climates | Ears are already very dry or cracked |
| Wax Dissolvers | Breaking down ear wax | Excessive wax buildup, before routine cleaning | Ears are irritated, potential eardrum damage |
| General Maintenance | Gentle cleaning, odor control | Weekly cleaning, healthy ears | Specific infection needs |
The Step-by-Step Poodle Post-Bath Ear Cleaning Routine
This isn't just a quick swipe; it's a careful, deliberate process designed to get those Poodle ears truly dry and clean. Consistency is your best friend here, turning it into a routine your Poodle becomes accustomed to.
Step 1: Pre-Cleaning Preparations (Before the Bath)
Ideally, the real work starts before the bath. If your Poodle has excessive hair deep in the ear canal, it's best to pluck it beforehand. This allows the cleaning solution to penetrate better and helps the ear canal dry more efficiently. If you're not comfortable plucking, your groomer or vet can do it. Also, consider placing large cotton balls loosely in your Poodle's ears before the bath itself to act as a barrier against direct water entry. Just remember to remove them immediately afterward!
Step 2: Drying the Outer Ear and Visible Canal
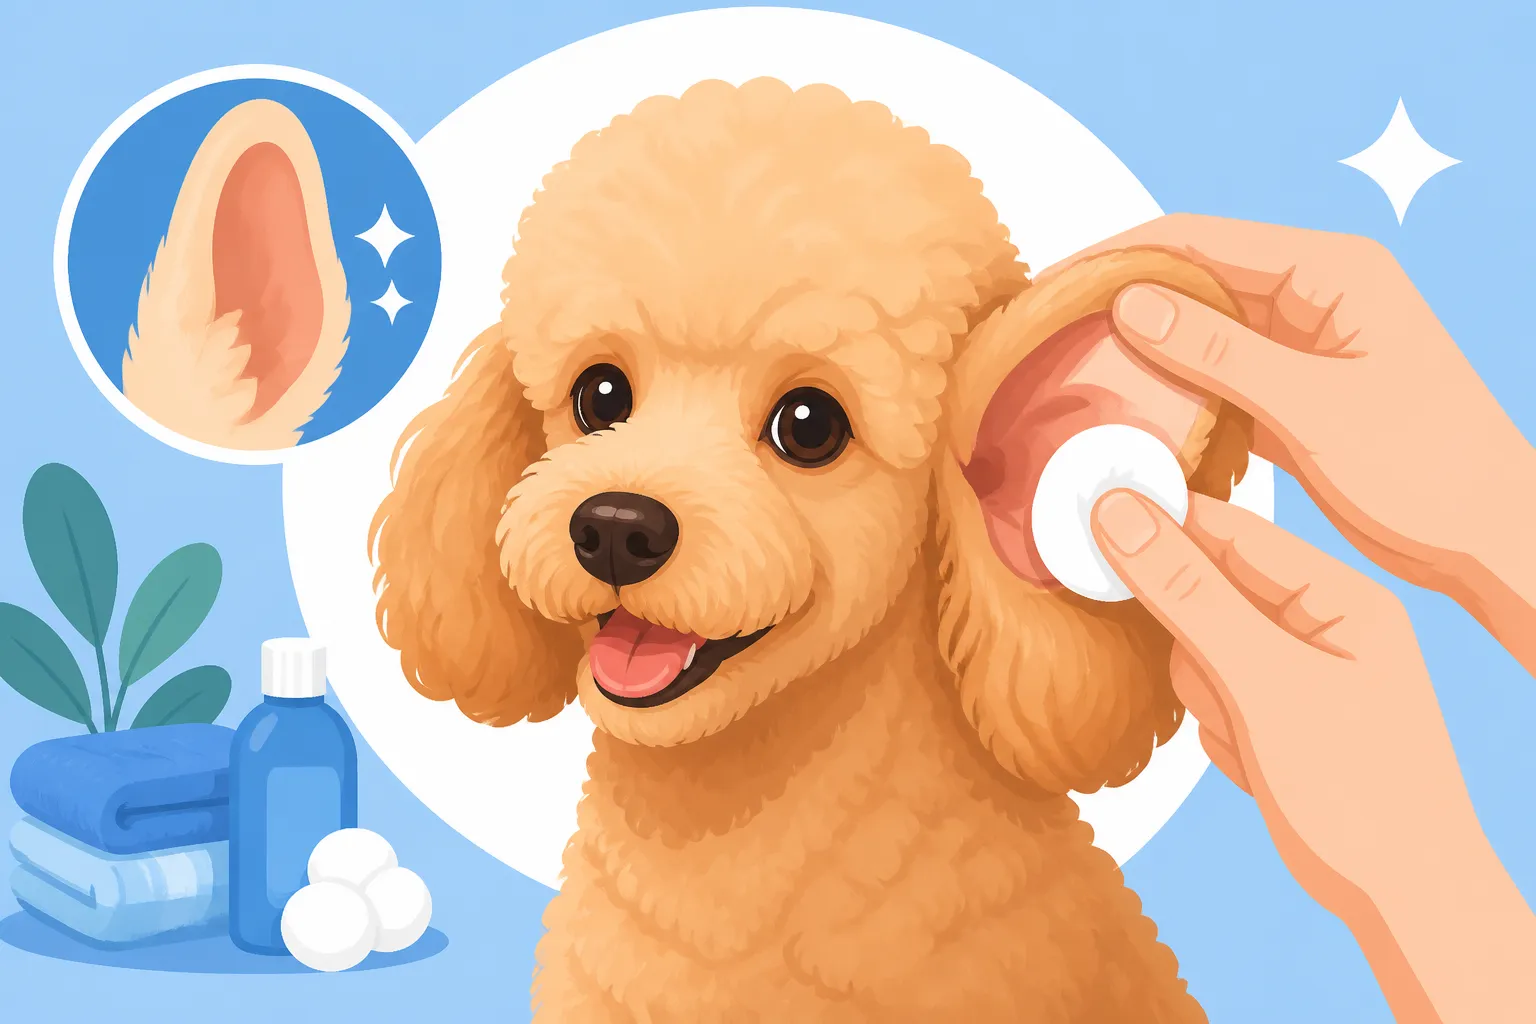
As soon as the bath is over and your Poodle has had its initial big shake, gently towel dry the outside of the ears, paying close attention to the underside of the ear flap and the entrance to the ear canal. Use soft, absorbent cotton balls or gauze pads to blot away any visible moisture from the outer ear flap and as far into the ear canal as you can safely reach with your finger. Do not push anything deep into the ear canal with force. The goal here is to remove surface water.
Step 3: Applying the Ear Cleaning Solution
Now it's time for the cleaner. Hold your Poodle's ear flap up and open. Carefully squirt a generous amount of ear cleaning solution directly into the ear canal until it's full. Don't be shy! You need enough liquid to really flush out any debris and water. Your Poodle might shake its head, which is okay – it actually helps distribute the cleaner.
Step 4: Massaging and Flushing
Once the solution is in, gently massage the base of your Poodle's ear for about 20-30 seconds. You should hear a squishy sound as the liquid works its magic. This massage helps break up wax and debris, allowing the solution to reach all the nooks and crannies of the ear canal. After massaging, let your Poodle shake its head vigorously. This is crucial for dislodging the cleaner and the dissolved gunk. Stand back, or you'll get sprayed!
Step 5: Wiping Away Debris and Drying
After your Poodle shakes its head, use fresh cotton balls or gauze pads to wipe away any liquid, wax, and debris that has risen to the surface. Continue to wipe until the cotton comes out clean. Again, only wipe what you can see and reach with your fingers. Do not insert cotton swabs deep into the canal. The goal is to remove the loosened material, not push it back down. This step is about drying and removing the physical evidence of cleaning.
Step 6: Ensuring Complete Dryness
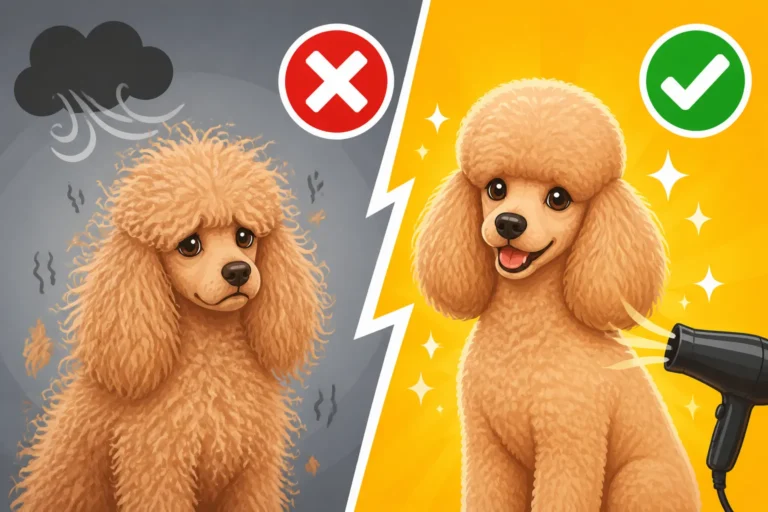
This is arguably the most critical step for Poodles. After wiping, you need to ensure the ear canal is as dry as possible. You can use a very low-setting, cool-air hairdryer (held at a safe distance and never pointed directly into the ear canal) to gently circulate air around the ear entrance. More ideally, many ear cleaning solutions are designed to be self-drying. If your chosen cleaner has drying agents, a thorough massage and wipe might be sufficient. If you use an ear powder specifically designed to absorb moisture (ensure it's vet-approved and safe for internal ear use), you can gently puff a small amount into the canal, but this should be done sparingly and only after the liquid cleaner has been removed. Always follow product instructions carefully.
Repeat this entire process for the other ear.
Common Mistakes to Avoid and Troubleshooting Tips
Even with the best intentions, it's easy to make mistakes when it comes to Poodle ear care. Understanding these pitfalls can save your Poodle a lot of discomfort and you a lot of worry.
Over-Cleaning vs. Under-Cleaning
There's a delicate balance. Under-cleaning, especially after a bath, almost guarantees moisture will linger and problems will brew. However, over-cleaning can also be detrimental. Using harsh solutions too frequently can strip the ear of its natural protective oils, leading to irritation and even promoting infection. Stick to a post-bath cleaning schedule, and if your Poodle is prone to issues, a gentle weekly cleaning with a mild solution might be appropriate. Always consult your vet if you're unsure about the frequency or type of cleaner.
Using the Wrong Tools
As mentioned, cotton swabs are a big no-no for internal ear cleaning. They push debris further in and can cause injury. Similarly, homemade concoctions like vinegar and water solutions, while sometimes recommended for other purposes, aren't always ideal for regular post-bath cleaning, as they might not have the necessary drying agents or be pH-balanced for a dog's ear. Stick to veterinarian-approved products. For example, while baking soda might seem like a good drying agent, it can clump and cause further irritation if used improperly in the ear canal.
Ignoring Signs of Infection
Sometimes, despite your best efforts, an ear infection can still develop. It's vital to recognize the early warning signs so you can get veterinary help promptly. These include:
- Excessive head shaking or pawing at the ears.
- Strong, unpleasant odor emanating from the ears.
- Redness or swelling around the ear canal.
- Discharge that is dark brown, yellow, or greenish.
- Pain or sensitivity when you touch your Poodle's ears.
- Changes in behavior, such as lethargy or irritability.
If you notice any of these symptoms, skip the DIY cleaning and head straight to your veterinarian. Self-treating an active infection can make it worse and delay proper healing. Your vet can accurately diagnose the type of infection and prescribe appropriate medication. You can learn more about Ear Infections Under a Poodle's Drop Ears.
Making it a Negative Experience
Poodles are intelligent and sensitive creatures. If ear cleaning becomes a battle, they'll dread it, making future sessions even harder. Introduce the process gradually, pairing it with high-value treats and praise. Start with just touching their ears, then progress to wiping, then to a full cleaning. If your Poodle is particularly resistant, break the process into smaller steps over several days, rewarding heavily at each stage. Consistency and patience will make a world of difference. Investing in quality, Poodle-friendly grooming supplies from retailers like Amazon can also help ensure you have tools that are comfortable for your dog.
Remember, a little proactive effort after each bath can save you a lot of heartache (and vet bills!) down the line. A clean, dry ear is a happy ear for your beloved Poodle. You might also want to look into Poodle Dental Disease by Size or Poodle Vaccination and Preventive Schedule for other important routine care tips. For ongoing advice on your dog's overall well-being, resources like Ollie can provide tailored nutritional guidance that supports skin and coat health, which often correlates with ear health.
Disclaimer
This article is for general informational purposes only and does not constitute professional advice. Laws, prices and regulations vary by location and change over time. Consult a qualified professional for guidance on your specific situation.