Drying a Poodle Straight
If you've ever bathed your beautiful Poodle and watched in dismay as their gorgeous curls shrink and mat tighter than a wool sweater left in a hot dryer, you know the frustration. It's not just about aesthetics; a poorly dried Poodle coat is an invitation to skin issues, discomfort, and the dreaded "Poodle dreadlocks" that only a professional can truly conquer. This guide will walk you through the essential techniques and tools to master the art of drying your Poodle's coat straight, keeping them comfortable, healthy, and looking their absolute best.
Understanding the Poodle Coat's Unique Challenges When Drying
The Poodle's signature coat is a marvel – dense, curly, and often described as hair rather than fur because it continuously grows and doesn't shed in the traditional sense. But this very characteristic, while beloved for its low-allergen qualities, also presents unique challenges, particularly when it comes to drying. Simply letting a Poodle air dry isn't an option for a healthy, manageable coat.
Why the Poodle Coat Curls So Intensely
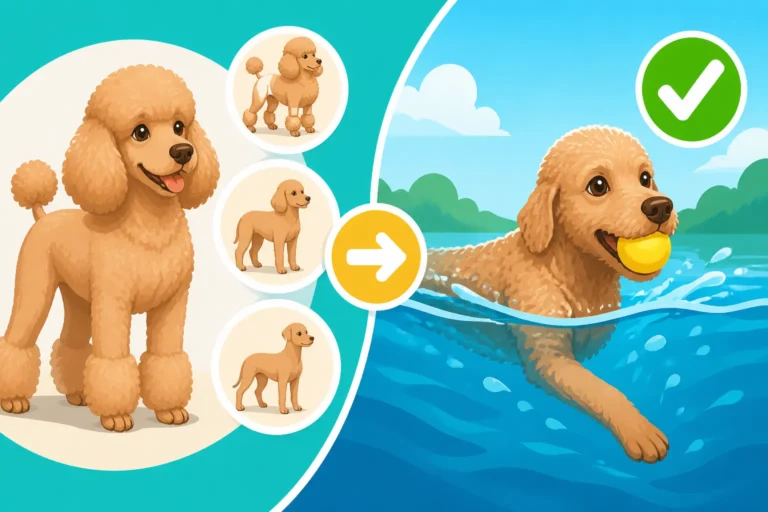
Imagine a spring: when wet, it coils even tighter. That's essentially what happens to a Poodle's coat. Each individual strand of hair is naturally curly, and when saturated with water, these curls are amplified. The hair swells, the curls tighten, and the individual strands intertwine with one another. This isn't like a Golden Retriever's straight, shedding fur that simply dries in the air with minimal fuss. A Poodle's coat, without intervention, will dry into a dense, felted mass of tight curls and knots.
This intense curling is a protective mechanism, historically suited for a water-retrieving dog, but it's a nightmare for the modern pet owner if not managed correctly. The coat's texture holds moisture close to the skin, which, if not thoroughly dried, creates a damp, warm environment ripe for problems. Understanding this inherent curl is the first step in knowing why a specific drying technique is not just preferred, but absolutely essential for this breed.
The Consequences of Air Drying a Poodle
"Oh, it'll just air dry eventually!" is a phrase that strikes fear into the heart of any experienced Poodle owner or groomer. Air drying a Poodle isn't just suboptimal for their appearance; it's genuinely detrimental to their health and comfort. As the wet, curly coat air dries, it shrinks and tightens. The hairs, already prone to matting due to their non-shedding nature, become hopelessly intertwined. These tight knots, or mats, pull on the skin, causing pain and irritation.
More seriously, the dense, damp coat creates an ideal breeding ground for bacteria and yeast. Skin infections, hot spots, and general dermatological misery are common consequences of insufficient drying. The trapped moisture can lead to an unpleasant odor, and severe matting can restrict movement, hide parasites, and make future grooming sessions incredibly painful and stressful for your dog. For more on how these mats form, check out Why a Poodle Coat Mats Instead of Shedding. It’s not just about looking good; it's about preventing a host of painful and expensive problems.
Essential Tools for Achieving a Straight Poodle Coat
You wouldn't try to sculpt a masterpiece with a spoon, and you shouldn't try to dry a Poodle straight with a hairdryer meant for humans. Achieving that smooth, flowing Poodle coat requires specialized tools that work in harmony with the unique properties of their hair. Investing in the right equipment isn't an indulgence; it's a necessity for maintaining your Poodle's health and beauty.
The Power of the High-Velocity Dryer
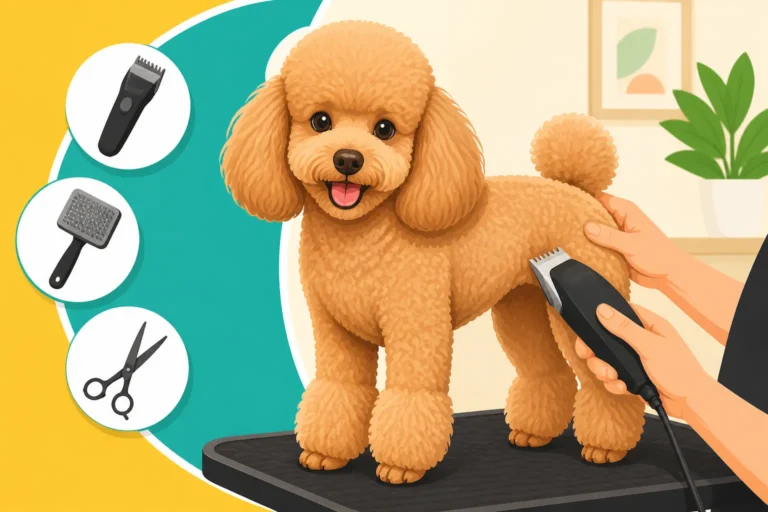
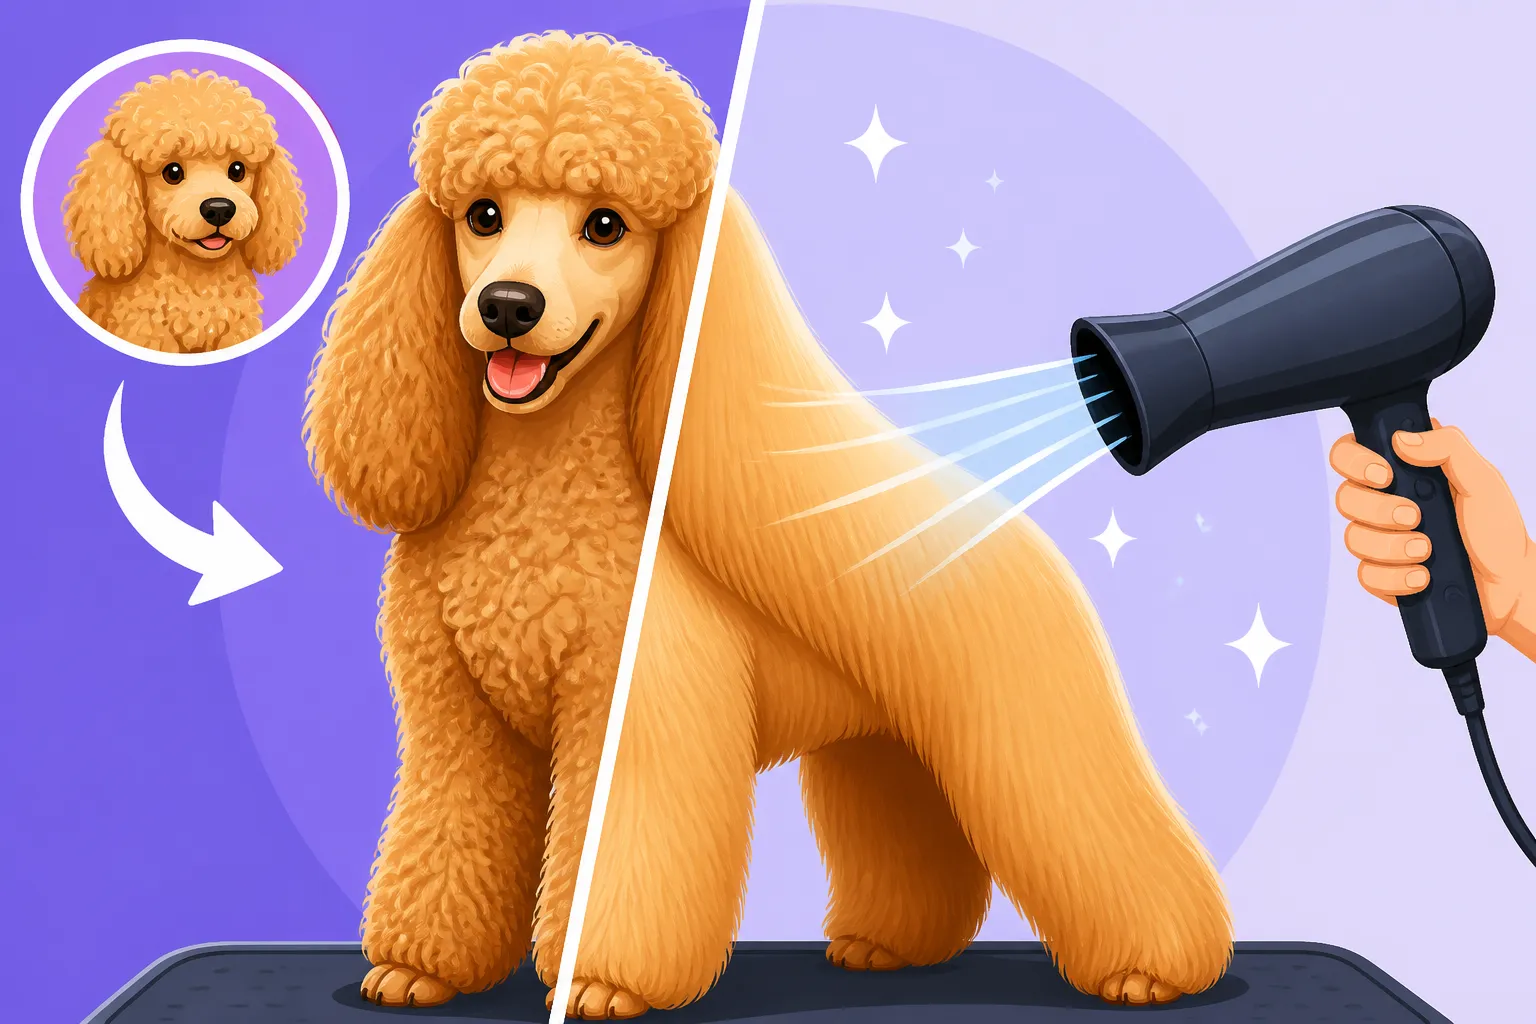
This is, hands down, the single most important tool in your arsenal for drying a Poodle straight. A high-velocity (HV) dryer, sometimes called a force dryer, works by expelling a powerful stream of unheated or low-heated air, not by baking the coat dry with high temperatures like a human hairdryer. The force of the air literally blasts the water out of the coat and, crucially, helps to straighten the curls as you brush. This forceful air separates the hair strands, allowing you to get down to the skin, ensuring thorough drying.
HV dryers come with various nozzles. The flat, concentrated nozzle is your best friend for straightening, as it directs the airflow precisely where you need it. When using an HV dryer, always be mindful of your Poodle's comfort. Protect their ears with cotton balls, shield their eyes, and avoid aiming the air directly at sensitive areas for extended periods. The powerful blast can be startling, so gradual desensitization is key, as discussed in Teaching a Poodle to Accept the Dryer. Many great options are available from retailers like Chewy or Amazon, offering different power levels and noise outputs to suit your needs and budget.
Brushes and Combs for Straightening Success
While the HV dryer does the heavy lifting, your choice of brush and comb is equally critical for achieving a truly straight finish. These tools work in conjunction with the air stream to untangle, separate, and smooth each strand of hair.
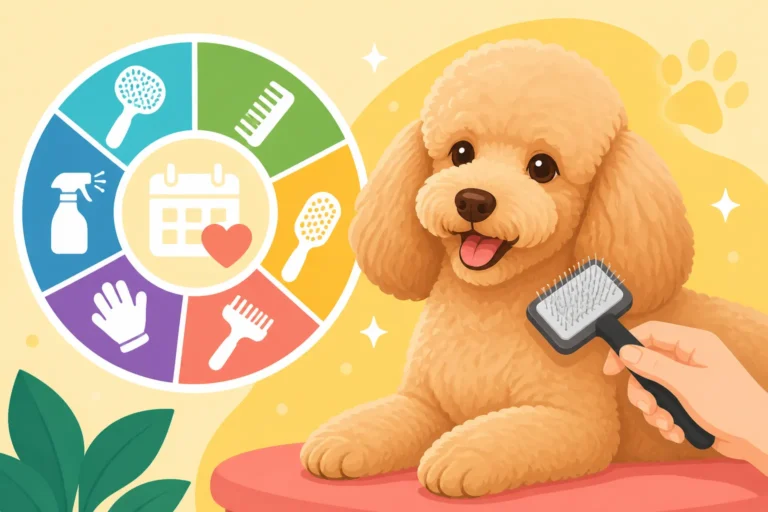
- Slicker Brush: This is your primary brushing tool. Look for one with firm, angled pins, as these are excellent for getting deep into the curly coat without causing discomfort. You'll need various sizes – a larger one for body work and smaller ones for delicate areas like the legs and face. The slicker brush is used to pull the hair straight as the air stream hits it.
- Pin Brush: A pin brush, with its widely spaced, rubber-tipped pins, can be useful for initial detangling on a damp coat, or for longer coats to gently separate sections. It's less effective for straightening than a slicker brush but can be a good transition tool.
- Greyhound Comb: This metal comb, often with both wide and fine teeth, is your quality control tool. After drying a section, run the Greyhound comb through it. If the comb glides smoothly from root to tip, you know the section is dry and straight. If it snags, you've missed a spot or a tangle, and need to re-dry and brush. For more on combs and brushes, refer to Tools That Reach a Poodle's Undercoat.
Pre-Drying Prep and Product Pointers
Before you even turn on the dryer, a little preparation goes a long way. This stage sets the foundation for a smoother, faster, and more effective drying process.
First, after a thorough bath and rinse (and trust me, rinsing all the shampoo out is vital), use super-absorbent towels – microfiber towels are fantastic for this – to gently squeeze and pat as much excess water out of the coat as possible. Avoid rubbing vigorously, as this can create tangles before you've even started. Just blot and squeeze.
Next, consider a leave-in conditioner or a conditioning spray. These products not only help to detangle the coat but also protect the hair from potential heat (even low heat from an HV dryer) and friction during the brushing process. They can add moisture, reduce static, and give the coat a beautiful sheen once dry. Apply sparingly and evenly, working it through the damp coat. Look for high-quality conditioning sprays at pet supply stores or online marketplaces like Chewy or Amazon. While diet plays a huge role in coat health, with quality foods contributing to a lustrous coat, external products provide immediate aid during grooming.
Step-by-Step Guide to Drying Your Poodle Straight
Drying a Poodle straight isn't a quick task, but with the right technique, it becomes a predictable and manageable part of your grooming routine. Think of it as a methodical process, much like an artist creating a sculpture, working layer by layer until the desired form is achieved. Patience and consistency are your best friends here.
Pre-Drying Preparation: The Foundation of a Great Finish
A successful straight dry begins long before the dryer is even plugged in. The quality of your bath directly impacts the ease of drying. Start with a thorough bath using a good quality shampoo, making sure to work it down to the skin, especially in dense areas. More importantly, rinse, rinse, rinse! Any shampoo residue left in the coat will make it feel sticky, attract dirt, and make drying and brushing incredibly difficult. Follow with a conditioner, let it sit for a few minutes to penetrate the hair shaft, and then rinse that out completely too. You want the coat squeaky clean, but conditioned.
Once bathed, gently squeeze excess water from the coat. Again, no vigorous rubbing. Wrap your Poodle in a highly absorbent towel – two or three might be needed for a Standard Poodle! Allow the towels to wick away as much moisture as possible for about 10-15 minutes. For a more detailed guide on the bathing process itself, you can refer to Bathing and Drying a Poodle. Next, I like to do an initial "blast dry" with the HV dryer, keeping the nozzle moving continuously. This isn't about straightening yet; it's about removing the bulk of the water, making the coat damp rather than soaking wet, and fluffing it up a bit. Keep the air moving to avoid concentrating on one spot too long.
The Line Brushing Technique with the HV Dryer
This is the core technique for achieving a straight Poodle coat. Line brushing involves working on small sections of hair at a time, ensuring that the air from the dryer reaches the skin and that every strand is brushed straight.
Here’s how you do it:
- Sectioning: Imagine your Poodle's body is divided into horizontal layers. Start at the lowest part you're working on, typically the hind legs or belly, and clip the upper layers of hair out of the way using grooming clips. This exposes a small, manageable section of hair right down to the skin.
- Brushing and Blowing: Hold your slicker brush in one hand and the HV dryer in the other. Place the nozzle of the dryer close to the skin, aiming the airflow in the direction you want the hair to lie (usually down and away from the body). As the air hits the section, use your slicker brush to pull the hair up and away from the skin, brushing into the air stream. You are literally lifting the hair up, separating it, and straightening it as the forced air dries it.
- Working in Lines: Move the brush and dryer together in small, overlapping strokes, ensuring you dry from the root of the hair all the way to the tip. Once you've dried that thin "line" of hair, drop a tiny bit more hair from the clipped-up section above, creating a new "line" to work on. This methodical approach ensures no spot is missed. This is crucial because any missed damp, curly spots will later cause matting, ruining all your hard work. For a visual explanation, see Line Brushing a Poodle Explained.
Remember to keep the dryer moving; don't hold it still on one spot, even with cool air, to prevent discomfort for your Poodle.
Focusing on Problem Areas and Delicate Spots
While the main body of the Poodle takes the most time, certain areas require extra attention due to their delicate nature or propensity for matting.
- Face and Head: Use a smaller slicker brush and turn down the force on your HV dryer if possible, or use a more diffused nozzle. Gently hold your Poodle's muzzle to prevent them from shaking their head. Work carefully around the eyes, ears, and mouth, always brushing away from these sensitive areas. The hair on the topknot can be brushed straight up, while facial hair is brushed down or forward, depending on the desired style. When trimming their face, drying it straight first makes precise work much easier, as mentioned in Trimming a Poodle's Face Clean.
- Ears: Poodle ears are notorious for matting because they hang close to the body, trapping moisture. Lift the ear leather and dry the hair on both sides, ensuring the base of the ear (where it joins the head) is completely dry.
- Armpits, Groin, and Hocks: These are high-friction areas where mats form quickly. They require the same line brushing technique but with extra care due to the sensitive skin and tight folds. Use your fingertips to feel for any damp spots or tangles as you work.
- Tail: The tail plume needs thorough drying, brushing the hair out in all directions to ensure no part remains damp.
When working on these areas, pay attention to your Poodle's body language. If they seem uncomfortable, take a break, offer praise, or adjust your technique. Some Poodles are particularly sensitive around their hindquarters or tail.
Maintaining the Straightness and Coat Health After Drying
You've put in the hard work to dry your Poodle straight, and now you want that beautiful, bouncy, and tangle-free coat to last! The drying process is a major part of coat maintenance, but it's not the end of the story. Consistent care afterward is key to prolonging that freshly groomed look and keeping your Poodle comfortable until the next bath.
Post-Drying Checks and Finishing Touches
Once you believe you're finished drying, it's time for the ultimate test: the comb check. Take your Greyhound comb and meticulously go through every section of your Poodle's coat, from root to tip. Start with the wide-toothed side, then follow with the fine-toothed side. If the comb glides through smoothly without snagging anywhere, you’ve done a fantastic job. Any resistance means there's still a damp spot or a hidden tangle that needs to be addressed with a bit more drying and brushing. Pay particular attention to the armpits, behind the ears, the inner thighs, and the hocks – these are the common culprits for overlooked mats.
You can also use your hands to feel for any remaining dampness, especially close to the skin. A truly dry Poodle coat will feel light, fluffy, and completely uniform. If you desire, a light mist of a finishing spray can add shine and help repel dust, giving your Poodle that extra pampered look. For a deeper dive into combing techniques, revisit How to Line Brush a Poodle Properly.
Everyday Brushing and Prevention of Re-Matting
The biggest secret to maintaining a straight, healthy Poodle coat isn't just a perfect dry after a bath; it's consistent daily or every-other-day brushing. A well-dried, straight coat is significantly easier to brush and much less prone to matting than a coat that dried curly. Think of it this way: straight hairs slide past each other more easily, while curly hairs hook together like Velcro.
Your routine brushing sessions should still utilize the line brushing technique, even if you're not using a dryer. This ensures you get down to the skin and address any nascent tangles before they escalate into full-blown mats. The frequency of brushing depends on your Poodle's coat type, activity level, and the length of their hair, but for most Poodles, daily brushing is ideal. Even if you don't do a full brushing, a quick comb-through of the common matting spots can save you a lot of grief. To understand the importance of this, refer to How Often a Poodle Must Be Brushed.
Humidity is another factor to consider. On very humid days, a Poodle's coat can absorb moisture from the air, causing those straightened curls to spring back a bit. While you can't control the weather, diligent daily brushing will help combat this and keep the coat in good order.
When Professional Help is Best
Despite your best efforts, there might be times when calling in a professional groomer is the smartest decision. This is especially true if you find yourself facing significant matting. Trying to demat a severely tangled Poodle at home can be incredibly painful for your dog and frustrating for you. Professional groomers have specialized tools, training, and techniques to safely and humanely deal with severe matting, even if it means a full shave-down to get the coat back to a healthy starting point.
A professional groomer can also provide valuable insights into your Poodle's specific coat type and recommend suitable products or techniques. They can help you establish a grooming schedule that works for you and your Poodle, whether that means full professional grooms every few weeks or occasional "tidy-ups" to supplement your home care. Don't be ashamed to seek their expertise; it's an investment in your Poodle's well-being and appearance. They can also offer services like ear cleaning and nail trims, ensuring your Poodle is cared for head to paw. For budgeting this professional assistance, you might want to review Professional Grooming Costs by Poodle Size.
By understanding the unique nature of your Poodle's coat, utilizing the right tools, and committing to a consistent grooming routine, you can ensure your Poodle always looks their best, feels comfortable, and maintains optimal skin and coat health.
| Aspect | Air Drying (No Brushing) | HV Dryer with Brushing (Straightening) |
|---|---|---|
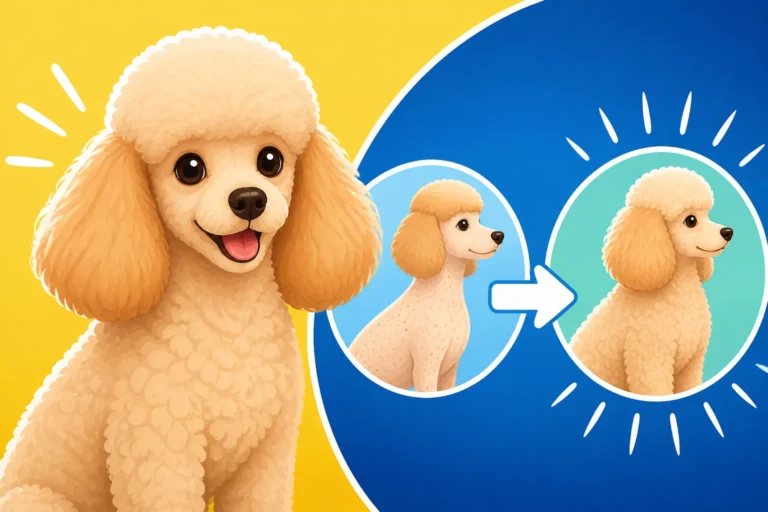
| Coat Outcome | Tight curls, mats, frizz, uneven texture | Straight, fluffy, smooth, uniform texture |
| Matting Risk | Extremely High | Very Low (if done correctly) |
| Skin Health | Poor; prone to dampness, infections, hot spots | Excellent; skin dries thoroughly, reduced irritation |
| Drying Time | Very Long (hours to days for thick coats) | Moderate to Fast (1-2 hours for Standard Poodle) |
| Effort Required | Low (but leads to high effort for mat removal) | High (physical, requires skill and patience) |
| Tools Needed | None (detangling afterwards is impossible) | High-velocity dryer, slicker brush, Greyhound comb |
| Comfort for Dog | Uncomfortable if mats form, potential skin issues | Comfortable (if desensitized), prevents mats |
| Maintenance Impact | Increases daily brushing difficulty & frequency | Decreases daily brushing difficulty & frequency |
Disclaimer
This article is for general informational purposes only and does not constitute professional advice. Laws, prices and regulations vary by location and change over time. Consult a qualified professional for guidance on your specific situation.